Creamy White Chicken Enchiladas
The Ultimate Creamy White Chicken Enchiladas Recipe | Comfort in a Pan
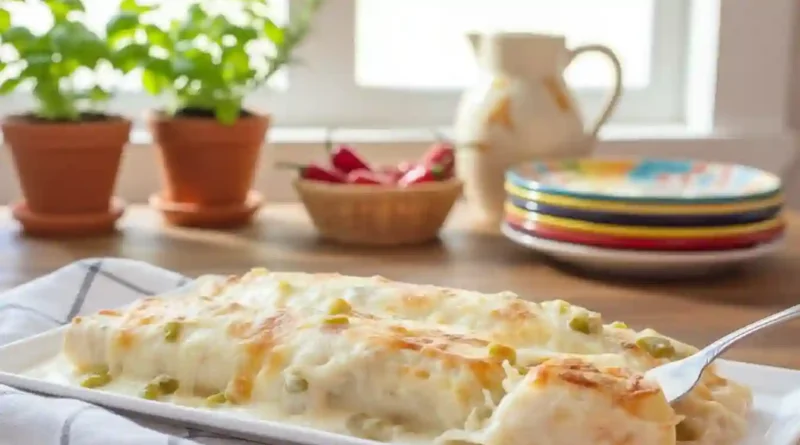
There’s something about a casserole dish full of enchiladas, fresh from the oven, that feels like a hug. The cheese is bubbling in golden pools, the aroma of green chiles and toasted flour wraps a cozy blanket around the kitchen, and you know that first bite will be pure, creamy comfort. This particular recipe is my go-to for quiet Sunday dinners and noisy weeknight gatherings alike. It’s the dish I learned to perfect after one too many versions of lackluster, dry enchiladas. This one, with its velvety, tangy sauce and tender filling, is the happy ending to that story.
Why You’ll Love This
-
It’s the definition of comforting. The creamy sauce, melted cheese, and savory chicken create a warm, satisfying meal that feels like a treat.
-
It’s deceptively simple. While it tastes like you fussed, the process is straightforward and uses mostly pantry staples.
-
It’s a guaranteed crowd-pleaser. From kids to adults, these mild yet flavorful enchiladas have a wide appeal.
-
It makes brilliant leftovers. They reheat beautifully, making your future self very thankful.
I’ll never forget serving these to my friend’s son, a renowned “picky eater” who viewed any casserole with deep suspicion. He watched me put a plate in front of him, poked at it once, and then took a tiny bite. Five minutes later, he’d cleaned his plate and quietly asked if there was more. It’s now the only thing he requests when he comes over.
What Makes It Special
The magic here isn’t in one single ingredient, but in how they come together:
-
The Creamy Sauce: Unlike a red chili sauce, this rich, white sauce is built on a buttery roux and enriched with sour cream, giving it a luxurious texture and a slight tang that cuts through the richness.
-
Diced Green Chiles: These are the flavor powerhouse. They don’t add significant heat, but a bright, authentic Southwest flavor that permeates every bite.
-
The Simple Filling: Using pre-cooked rotisserie chicken keeps it easy, while mixing cheese right into the filling ensures every enchilada is gooey and flavorful from the inside out.
Making It Happen
Start by warming your oven to 350°F and greasing your trusty 9×13-inch baking dish. In a bowl, combine your tender shredded chicken with a cup of Monterey Jack cheese. Season this well—this is your chance to build flavor inside each roll. I’m generous with the Adobo seasoning here.
Spoon this cheesy chicken mixture down the center of each soft flour tortilla, roll them up snugly, and line them side-by-side in the dish. They should fit cozily.
Now, for the heart of the dish: the sauce. In a saucepan, melt the butter until it’s foaming. Whisk in the flour and let it cook for just a minute until it’s fragrant and blonde. This cooks out the raw flour taste. Slowly pour in the chicken broth, whisking constantly until the sauce is perfectly smooth and begins to thicken. Remove it from the heat—this is crucial—and stir in the sour cream and the entire can of undrained green chiles. The residual heat will warm it through without curdling the sour cream.
Pour this creamy, speckled sauce evenly over the waiting enchiladas. It will seep into every crevice. Top with the remaining cup of cheese, creating a beautiful, melty blanket.
Bake for 20-25 minutes, until the edges are gently bubbling. For a gorgeous, restaurant-style finish, pop it under the broiler for just a minute or two to get those beautiful, golden-brown spots on the cheese.
You Must Know
-
Don’t Boil the Sauce: After adding the sour cream, keep the sauce off a direct boil to prevent it from separating or curdling.
-
Season the Filling: Don’t skip salting and seasoning the chicken mixture. It makes a huge difference.
-
Let it Rest: Allow the enchiladas to sit for 5-10 minutes after baking. This helps them set, making serving much cleaner.
Serving It Up
Serve these enchiladas steaming hot. A simple side of cilantro-lime rice or a crisp green salad with avocado balances the richness beautifully. For drinks, a cold Mexican lager, a tangy margarita, or even a sparkling lime agua fresca are all perfect companions.
Make It Different
-
Spice It Up: Add a finely chopped jalapeño to the filling or use Pepper Jack cheese.
-
Lighten It Up: Substitute full-fat Greek yogurt for the sour cream and use low-fat cheese.
-
Switch the Protein: Leftover turkey or shredded pork work wonderfully. For a vegetarian twist, use black beans and corn.
-
Herb Boost: Stir a handful of fresh chopped cilantro into the filling or sauce.
Keeping & Reheating
Store cooled leftovers in an airtight container in the fridge for up to 3 days. Reheat individual portions in the microwave, or cover the whole dish with foil and warm in a 325°F oven until heated through, about 20 minutes.
Success Tips
For the best texture, use block cheese that you shred yourself. Pre-shredded cheese contains anti-caking agents that can make your sauce grainy. If your sauce seems too thick after adding the broth, simply add a splash more broth or milk to reach your desired consistency.
Frequently Asked Questions
Can I make these ahead of time?
Absolutely! Assemble the enchiladas completely, cover tightly, and refrigerate for up to 24 hours. You may need to add 5-10 minutes to the baking time if baking straight from the fridge.
Can I use corn tortillas instead?
You can, but flour tortillas are recommended for this creamy style. If using corn, quickly fry each tortilla in a little oil first to make them pliable and prevent cracking.
My sauce seems thin. What did I do wrong?
The sauce will continue to thicken as it bakes and cools. If it’s very thin, you can return it to low heat and simmer for a few more minutes, whisking constantly, before pouring it over the enchiladas.
Can I freeze these?
Yes, before baking. Assemble the dish, wrap it tightly in plastic wrap and foil, and freeze for up to 2 months. Thaw overnight in the fridge before baking as directed.
What’s a good substitute for Adobo seasoning?
A simple blend of garlic powder, onion powder, oregano, and a touch of cumin works well. Season to your taste.
Creamy White Chicken Enchiladas
Prep Time: 20 minutes
Cook Time: 25 minutes
Total Time: 45 minutes
Servings: 5 (2 enchiladas each)
Category: Main Dish
Difficulty: Easy
Cuisine: Mexican-American
Yield: 10 enchiladas
Ingredients
-
2 cups shredded, cooked chicken (from a rotisserie chicken is perfect)
-
1 cup shredded Monterey Jack cheese (or mozzarella), plus 1 additional cup for topping
-
Salt, black pepper, and Adobo seasoning, to taste
-
10 flour tortillas (soft taco size)
-
3 Tablespoons butter
-
3 Tablespoons all-purpose flour
-
2 cups chicken broth
-
1 cup sour cream
-
1 (4 ounce) can diced green chiles, undrained
Instructions
-
Preheat oven to 350°F. Lightly spray a 9×13-inch baking dish with nonstick spray.
-
In a medium bowl, combine the shredded chicken, 1 cup of cheese, and season with salt, pepper, and Adobo to your liking.
-
Divide the filling among the tortillas, roll them up, and place them seam-side down in the prepared dish.
-
For the sauce, melt butter in a saucepan over medium heat. Whisk in flour and cook for 1 minute. Gradually whisk in chicken broth until smooth and slightly thickened.
-
Remove from heat. Stir in sour cream and the can of green chiles (with their juices) until fully incorporated.
-
Pour sauce evenly over the enchiladas. Top with the remaining 1 cup of cheese.
-
Bake for 20-25 minutes, until hot and bubbly. For a browned top, broil for 1-2 minutes at the end, watching closely.
-
Let stand for 5-10 minutes before serving.
Notes: For a smoother sauce, ensure the sour cream is at room temperature before adding it to the hot mixture.
Nutrition Information (per serving, estimated): Calories: 620 | Fat: 35g | Saturated Fat: 18g | Carbohydrates: 40g | Fiber: 2g | Sugar: 4g | Protein: 35g